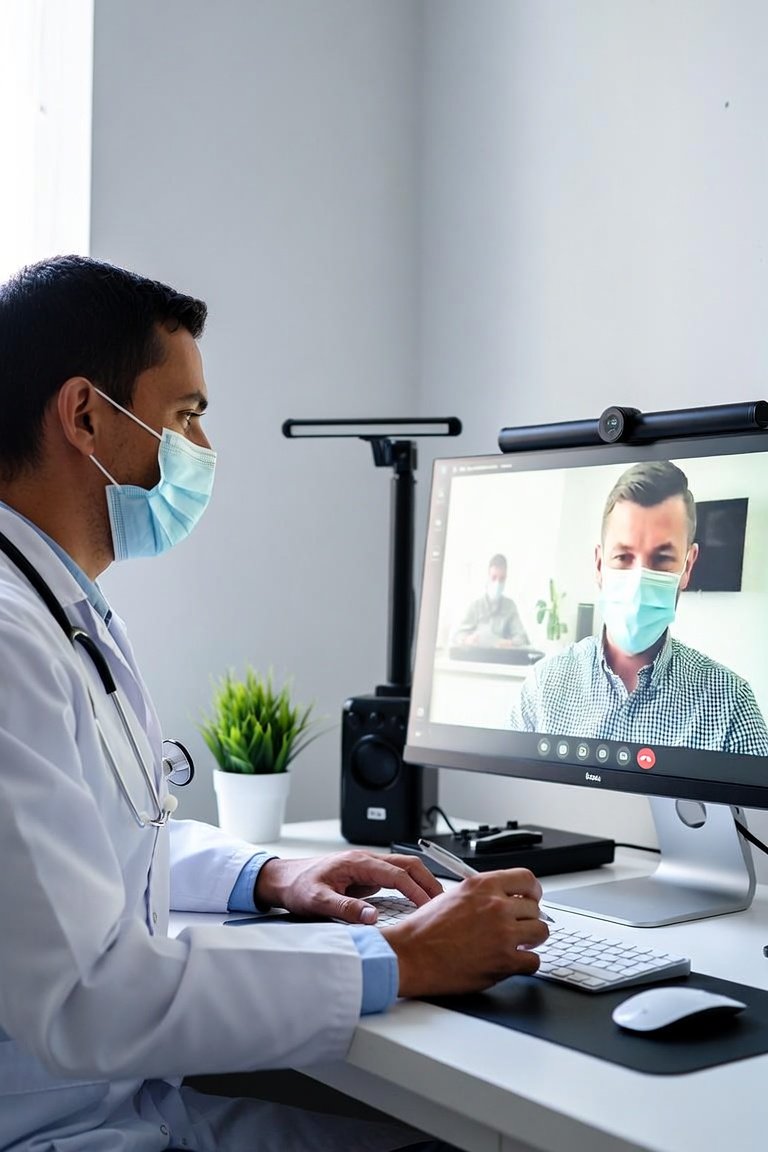
Over the past decade, I have helped dozens of clinics transition from traditional in-person visits to hybrid models that include telemedicine. The process is not as simple as buying a webcam and scheduling Zoom calls. Done right, a telemedicine service can expand your patient base, reduce no-shows, and improve chronic disease management. Done poorly, it frustrates patients and staff alike. Let me walk you through the essentials based on what I have seen work in real-world clinics.
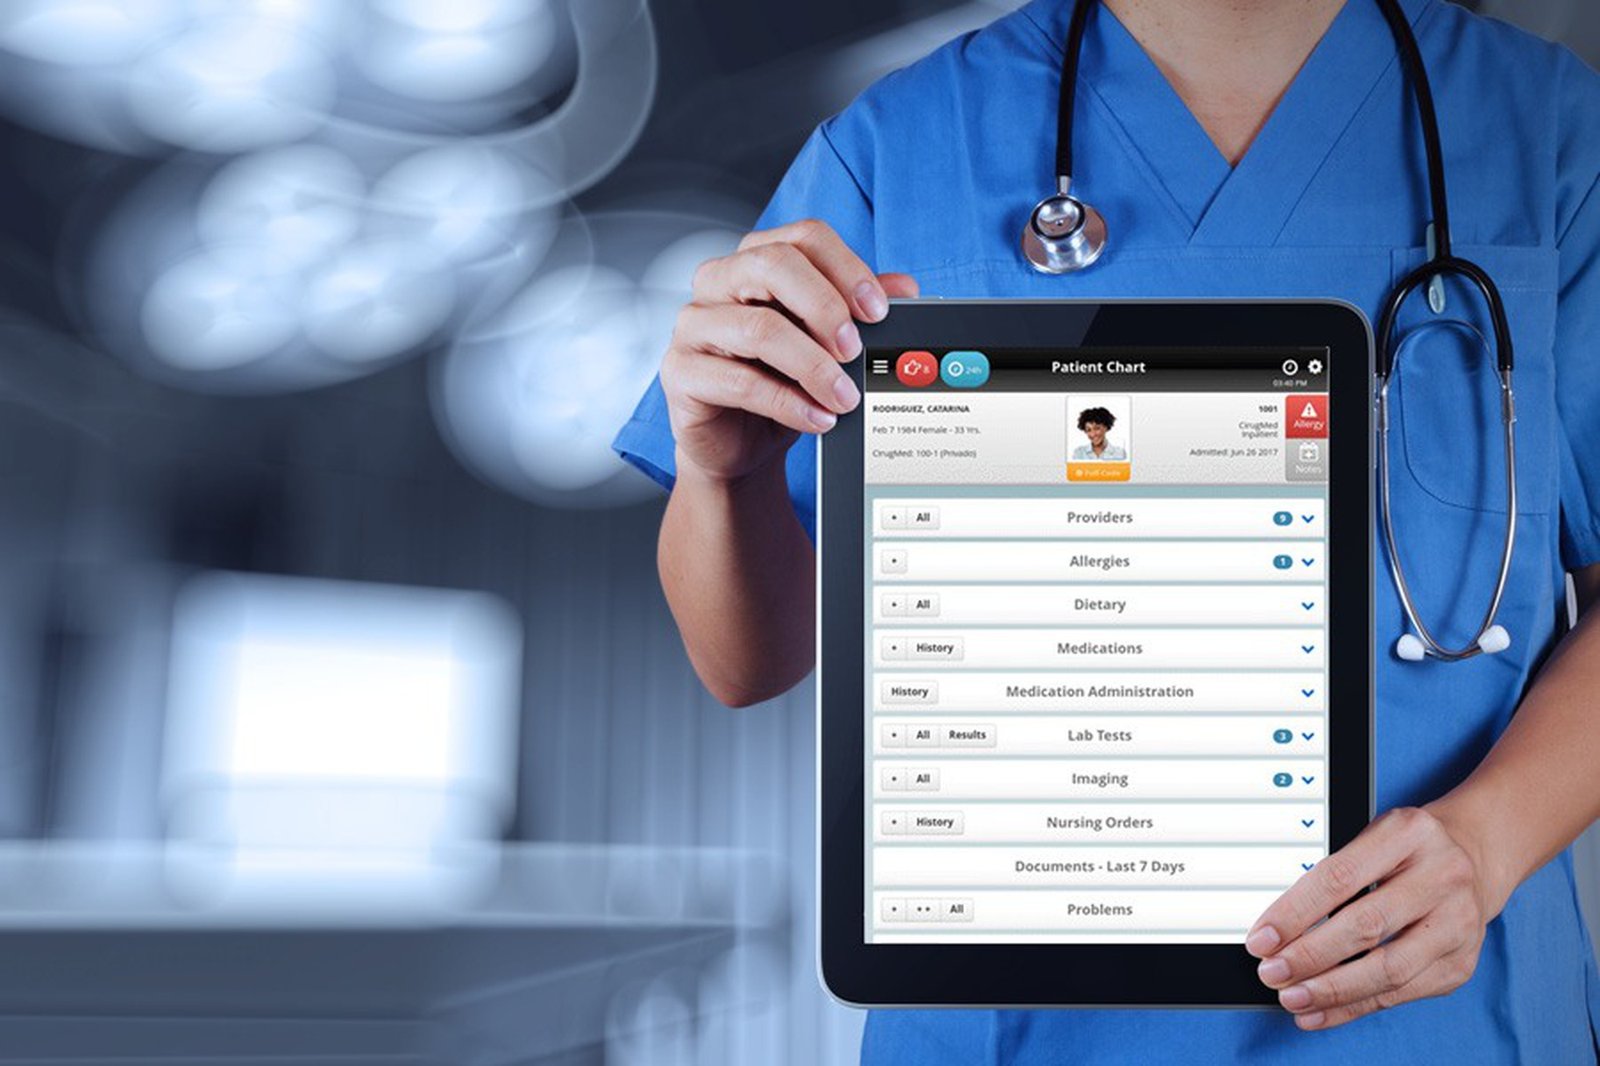
The first decision is choosing the right platform. You have three main categories: integrated electronic health record (EHR) modules, standalone telemedicine software, and simple consumer tools like FaceTime or Skype. I strongly recommend starting with an integrated solution if your EHR vendor offers one. This avoids double data entry and keeps billing codes, patient notes, and video visits in one place. For example, Epic’s MyChart and Cerner’s HealtheLife both have robust telemedicine modules. Standalone platforms like Doxy.me or Zoom for Healthcare offer more flexibility and lower upfront costs, but you will need to manually sync visit records with your EHR. Consumer tools are acceptable only for very small practices with low volume, and even then, you must ensure HIPAA compliance through a business associate agreement.
Next, focus on hardware. For the provider side, you need a computer with at least an Intel i5 processor, 8GB of RAM, and a dedicated graphics card if you plan to share high-resolution images like X-rays. A USB headset with a noise-canceling microphone is non-negotiable for clear audio. Do not rely on built-in laptop speakers and mics. For the patient side, you cannot control their equipment, but you can set minimum requirements: a smartphone or tablet with a front-facing camera, a stable internet connection of at least 10 Mbps download speed, and a quiet, well-lit room. Include these requirements in your patient onboarding materials.
Now, let us talk about workflow. I recommend a three-step intake process. Step one: pre-visit. Send patients a secure link to complete consent forms and update their medical history 24 hours before the appointment. Step two: technical check. Have a staff member call the patient 15 minutes before the visit to confirm their camera and microphone work. Step three: the visit itself. Keep it structured. Start with a visual inspection of the patient using the camera, then proceed to history taking and review of any home monitoring devices like blood pressure cuffs or pulse oximeters. For follow-ups, this is often sufficient. For new complaints, you may need to schedule an in-person exam.
One critical feature to look for in any telemedicine platform is store-and-forward capability. This allows patients to upload photos or videos of skin rashes, wounds, or other visible conditions before the visit. It saves time and improves diagnostic accuracy. Also, ensure the platform supports real-time chat for quick questions between visits. Many platforms charge extra for this, but it reduces phone call volume significantly.
Finally, do not overlook reimbursement. Medicare and most private insurers now pay for telemedicine visits at the same rate as in-person visits, but only if you use a HIPAA-compliant platform and document the visit properly. Check with your billing team to ensure your chosen platform generates the correct CPT codes. For audio-only visits, use code 99441 for established patients.
My closing recommendation: start small. Pilot telemedicine with one provider and a limited patient panel for 90 days. Collect feedback on audio quality, ease of use, and patient satisfaction. Then expand. The technology is mature enough to handle most routine visits, but the human factor—training your staff and setting patient expectations—is what determines success. Invest in that first, and the rest will follow.
Clinic Management
Setting Up a Telemedicine Service: A Practical Guide for Clinic Managers